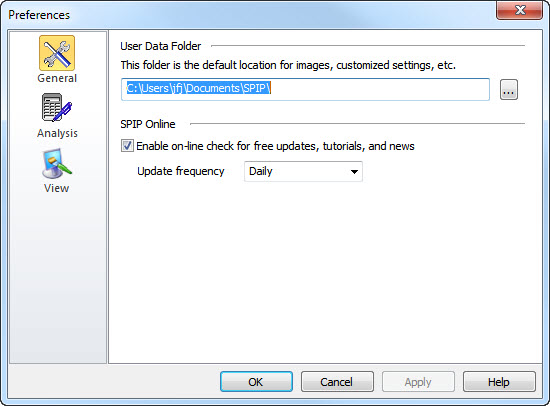
The Preferences Dialog is activated by clicking Preferences in the File menu. It contains three sections: General, Analysis and a View section.
In the general section, you can define the User Data Folder default folder for customized settings, preferences, templates, etc.
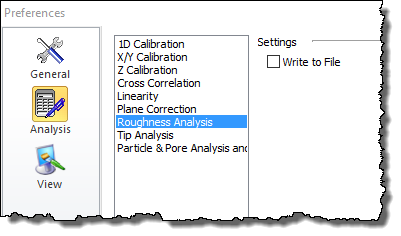
The Analysis section is used for defining if you want to store analytical results;to individual text files.
Storing results to text files can have the advantage of containing more detailed information, which can be imported to, e.g., spreadsheets.
You may import the files into a spreadsheet program and create your own presentations of the results. Typically the fields are tab separated and '.' is used as the decimal character (Most European countries use ',' as decimal character). Therefore, depending on your nationality settings you might need to replace '.' in numbers with commas.
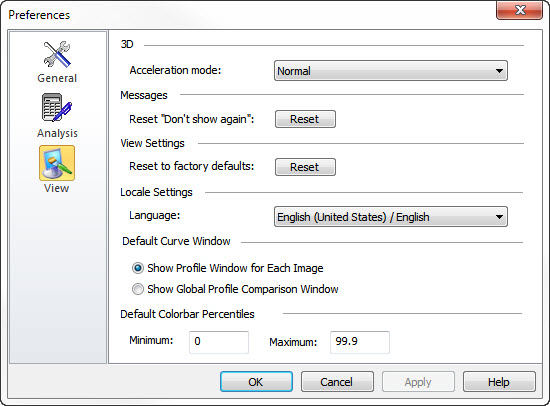
In case you experience problems with the 3D rendering quality you may consider setting the acceleration mode to low or safe.
You may occasional get the message dialog with "Don't show again" check boxes, so that you can avoid these messages to reappear.
In case you want to enable these messages to appear again you can click on the Reset button.
If you have modified View Settings for the different data window types you can reset the settings to the factory default.
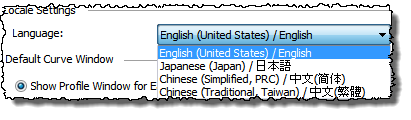
You can currently choose between English, Japanese, Traditional Chinese and Simplified Chinese.
When making a cross-section profile from an image window you can choose to have the profile shown in the Global Comparison Window or have one cross-section window per image. Note, this is only the initial behavior; during a session you are free to turn the profiles on and off or have them shown simultaneously.
The color scale can set to cover the full z-range or a fraction of the image automatically.
You can define a default percentile range, which is applied initially when opening an image, such that the left color makers of the color bar are set to the min and max percentiles (the color markers will determine the contrast of the image, see the Colors section). This is a strong technique for achieving a good contrast even in images containing extreme values and the color markers will also provide a good indication of the outlier height values.
When setting the min and max percentiles to 0% and 100% respectively the color markers are set to the associated minimum and maximum values of the image.
When comparing more images on the same z-scale you can also define a fixed z-range. This is done in the Z-Axis section of the Image View Settings.